Bild 6 von 7
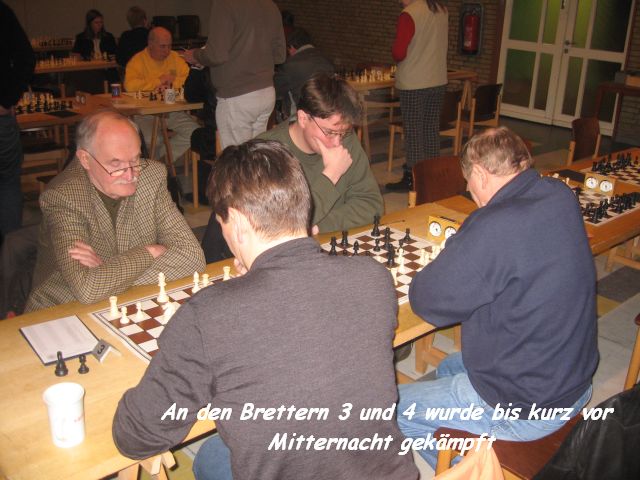
Beide Luruper gaben selbst in der Zeitnotphase nicht nach...